Showing posts with label Projects. Show all posts

Making Beeswax

Two weeks ago Nathan brought fresh raw honey home from work. He processed the honey at our house and set aside the wax and the cappings for me.  I researched a little online on how to make beeswax and was daunted. Many people said that beeswax will ruin your pots, makes a mess of your kitchen and that wax is dangerous to melt because it is flammable. I delayed making the wax for two weeks and let the container of wax sit on the counter but then the honey in the wax started to ferment. So yesterday afternoon I decided I would make beeswax today.
First I needed to clean the wax so that I could get all the honey out before I melted it down. I put the wax in a square piece of muslin cloth and brought up the corners and made a sort of "pouch". I rinsed the wax by running warm water over the pouch and I also dunked it in a bucket of warm water. After the water running from the pouch was clear I put the wax on a cookie rack with muslin over the top of the rack and put the rack on top of a 9x13 pan to catch any water. After I cleaned all the wax I let it dry over night.

The wax drying
Clean Wax

Today I started making the beeswax by putting the cleaned wax in my double boiler. (I bought two aluminum pots yesterday just for making the beeswax.) I boiled the water and then put my pot with the wax in the larger pot. I made sure that the wax did not get too hot but that it was just hot enough so that it could melt.

Wax in double boiler
After a few minutes of stirring the wax it all melted. I did the next steps outside so that I would not have to worry about ruining anything :-)
Before I started melting the wax I prepared a couple of plastic containers for straining the impurities from the wax. You can use plastic yogurt containers or carton orange juice bottles.  I found that the plastic yogurt containers worked better. Then I put a new knee high hose over the top of the container so that the wax would drain through the hose but the impurities would not get through the hose. I also put about an inch of water in the bottom of the containers so that the wax will form on top of the water.

Straining the wax
After I strained the wax I let the containers sit for an hour or so and then took the solid beeswax out. The first container of beeswax looked really clean but the second container of beeswax had a lot of impurities in it because we had stirred the impurities around trying to get all the wax to drip into the container.
Wax from the first container
 Wax from the second container. See the impurities in the wax?
I decided to melt all the wax down again and restrain it and make it into a large bar. I did all the steps again but this time I poured the melted wax into a bread pan that we did not need. I put a little water in the pan before I poured the wax in.
About an hour later the wax was solid and looked ready to be taken out.
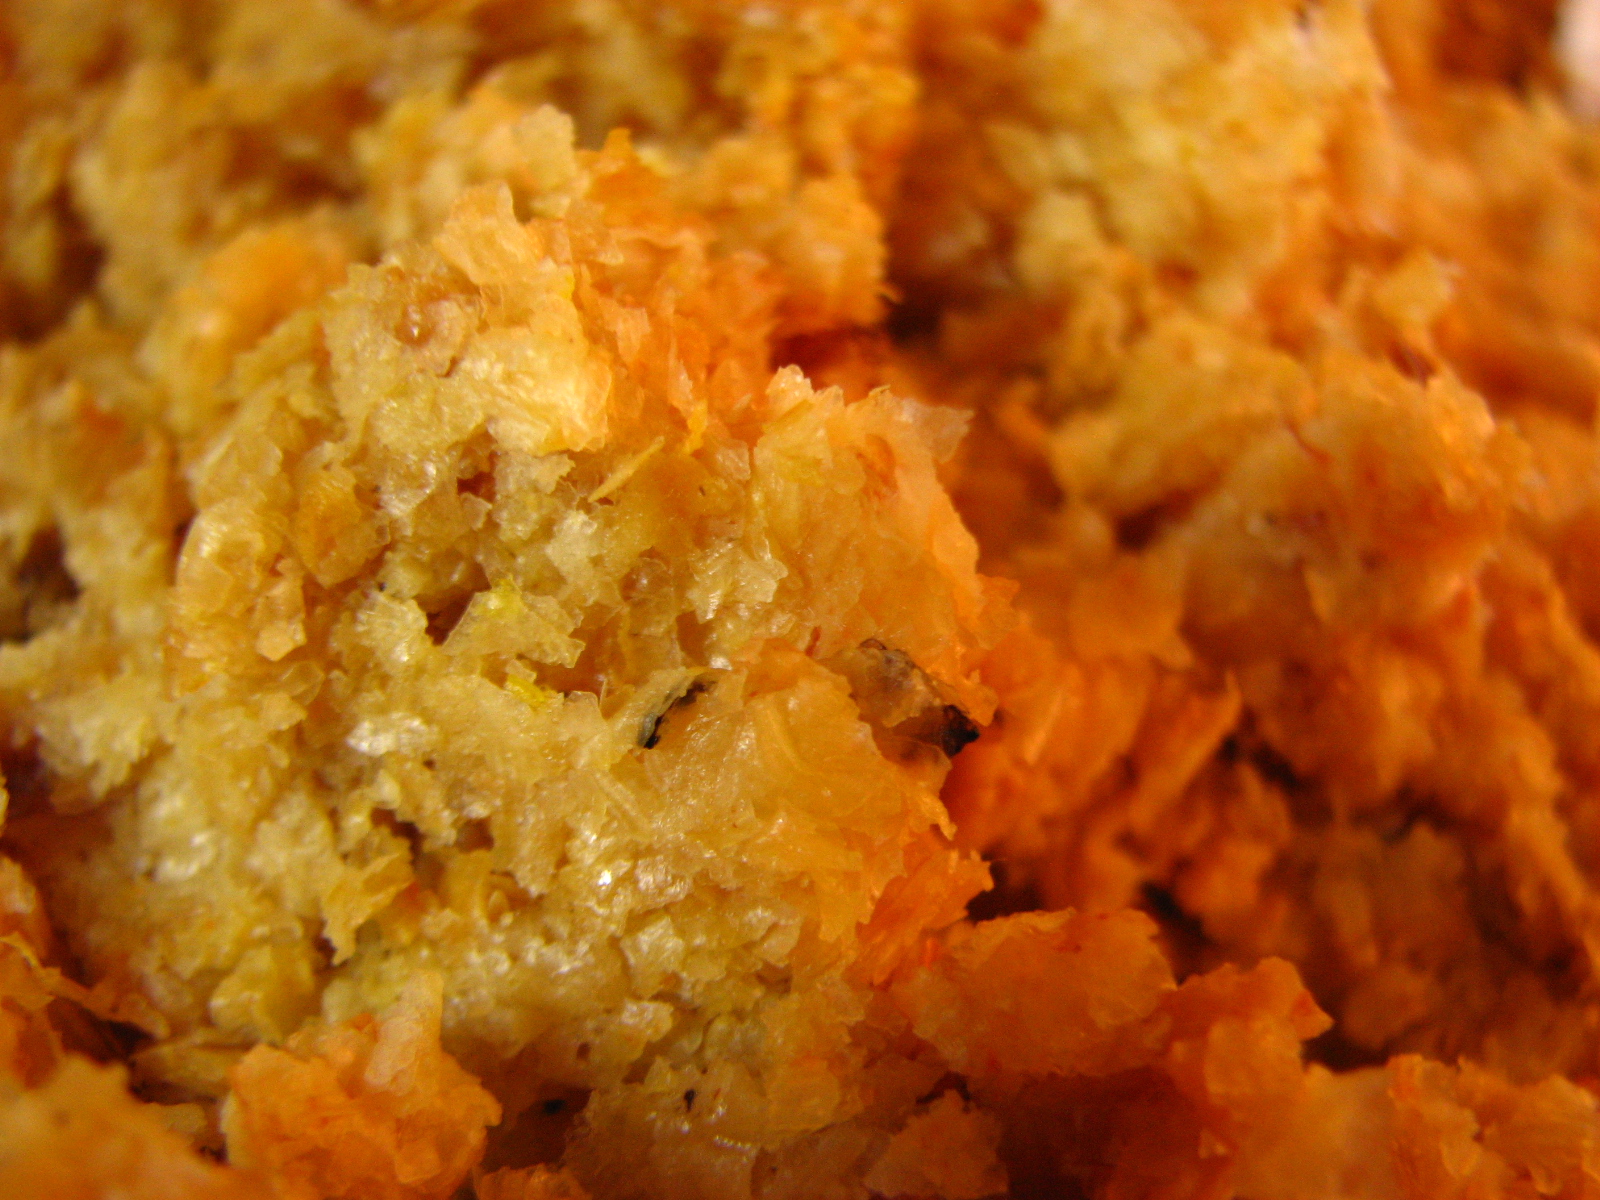
The new bar of beeswax turned out so beautiful. The beeswax is very clean and it has a faint smell of honey :-)
Cleaning the pots was difficult because the wax does not come off. They looked cleaner than I thought they would but I definitely know why you would not want to use these pots for cooking dinner with :-)
I used boiling water and I tried to buff the wax off but I did not spend too much time on them :-)


It was a lot of fun learning how to make beeswax and I hope to be able to do it again!

Blessings,
~Rachel


Making a doily

The last couple days I have been working on a doily for a friend's bridal shower. I finished the doily on Thursday after lots of taking out and redoing  :-)
I will admit that making doily's takes a lot of patience and the ability to read a pattern correctly... which I am slowly learning :-)
One thing I learned about reading patterns is that it is a good idea to get the correct gauge before you start your project.
I usually skip the gauging part, but I learned the hard way last time I made a doily that it does help if your doily does turn out the size it is supposed too:-)
So this time I figured out my gauge and found that I needed a crochet hook 7 times bigger than the pattern called for!   I have always had a problem with my projects coming out smaller than they were supposed to so I guess I now know why :-)

Blocking the finished doily


Blessings,
~Rachel


Wedding Flowers and Samplers


Last Friday Mom, my older sister, Heather,  and I were busy making bouquets, boutonnieres, and corsages!  Some very dear friends of ours were getting married on Saturday and Mom offered that we could do the flowers for the wedding.


Early Friday morning Mom and I went out to different stores to find the flowers for the wedding. It was pretty stressful trying to find all the flowers we needed but the Lord graciously answered our prayers and we brought home a 5 gallon bucket full of flowers plus a dozen roses that could not fit in it :-)
I thought we would have too many flowers, but at the end of the day we had just enough flowers to make a beautiful cake topper as well!
Mom arranged the bouquets and Heather and I taped the flowers. It was so much fun working together :-)
After we made the two bouquets we made five boutonnieres and five corsages. Unfortunately I did not get pictures of them but they turned out so pretty too!

The flowers before being arranged
Dozens of roses :-)
 
So stunning!

The bride's bouquet
The matron of honor's bouquet
The bouquets at the wedding; "just a few more minutes of making sure nothing happens to them" :-)
The beautiful cake that our pastor's wife made


Last week I worked on this cross stitch sampler as a gift for the new couple. I really like how simple yet pretty the design is. It was so quick to make and I was able to frame it very easily. Yeah!


Blessings,
~Rachel

Hexagon Flower Patches


 Last Friday Mom and I went over to help family friends who had just welcomed a new baby into their home. One of their older daughters (who is around 9)  asked her Mom what to do with two pair of pants that had holes in the knees. Since her Mom had just given birth to their 7th baby the day before; she decided  they would have to throw the pants away because they did not have time to fix them.  I offered to take the pants home and try and patch them.
I have often patched my clothes with store bought patches but this time the holes in these pants were big and on the knees, so I decided I would make my own patches. I wanted the patches to be girly and pretty. So the first thing I did was look for ideas on Google and I found this wonderful tutorial:  http://sewmamasew.com/blog2/2009/08/paper-piecing-hexagons/
The first patch turned out very pretty and the pattern was easy to follow. But I wanted to change the pattern from using paper to using interfacing and since I was going to make another patch I thought it would be fun to make a tutorial of how to make these hexagon  flower patches. So I got my brother's wonderful camera and started the next patch.

Here are the materials you need to make these darling hexagon flowers:

-Scissors
- Pen
-Scraps of fabric ( I used 3 different patterned fabric)
-Iron
-Thread
-Interfacing
- Hexagon template ( I used a Feta Cheese lid) first I made a hexagon on Microsoft word with 1 inch sides to make the hexagon template for the lid

First, trace out 7 hexagons on your interfacing. Then cut out all the hexagons.


Next, Iron the interfacing on the back sides of your scraps of fabric. Make sure your fabric is fairly wrinkle free.


After you have ironed on the interfacing cut out your fabric hexagons being sure to leave a 1/8" to 1/4" seam allowance between the interfacing and the edge of the fabric.

Now you are ready to start sewing your hexes together.  
Finger press your fabric along the side of the interfacing on two of your hexes. With right sides together match up your center hexagon with another hexagon with corners matching up. Make a knot on your thread and begin the ladder stitch picking up a tiny bit of fabric each time. Tie off at the end of each side.  Join all the sides of the hexagon together to form a flower. You will have to twist the fabric so that you get right sides together and make sure that it lies flat when it is sewn together.

After you have sewn all the hexagons together finger press the outside edges of the fabric onto the interfacing and sew it down. I did tiny french stitches but now that I think about it, it would be a lot faster to quickly baste it. You can do it however you like :-)
Now you have a beautiful patch!


Last step: Sew the patch onto your clothes that need a  fresh and new look!


Blessings,
  ~Rachel


Hand Warmers


I just made these hand warmers as a gift for a friend using a pattern called Emerald Green Handwarmer by Creative Yarn   The pattern is very easy to follow and the hand warmers are fast to knit!  I made a few changes  to the pattern because I used a different type of yarn that needed smaller needles. Here is the pattern with my changes:

To make these hand warmers you will need:
1 ball sock yarn (4 ply) you can make a couple pairs of hand warmers with one ball
Size 3 US knitting needles
Size 8 US knitting needles (or whatever size you have that is bigger than size 3 :-)
scissors
tapestry needle


Moss stitch:
Row1: *k1,p1*
Row2: *p1,k1*

Stockinette stitch:
Row1: knit across
Row2: purl across

Double Moss stitch:
Row1-2: *k1,p1*
Row3-4: *p1,k1*

Hand warmers: (make two!)
Cast on 42 stitches
Work in moss stitch for 4 rows 
Work in Sockinette stitch  for 16 rows
Start Double Moss stitch and repeat the pattern rows 8 times ending with row 4 .
Work in Stockinette stitch for 6 rows.
Work in Moss stitch for 4 rows. 
Bind off loosely in Moss stitch using size 8 needles.

Finishing: 
Fold your knitted work in half  and sew the sides together. (you want to sew on the inside of the hand warmers so fold the right sides together)
Sew from top down about 2 cm
Sew form bottom up 8 cm ( I think I did mine around 6 1/2 cm)
Leaving about 3 cm to 5 cm hole for the thumb.

Business Cards!

Over the past couple months I have wanted to make my business cards.
The weeks passed and nothing happened.
But that all changed last week when I realized I needed to get serious and make my business cards :-)
So...after much trial and error, a long (very helpful) phone conversation with my older brother, some much-needed help with pictures and photo shop from another brother, and ideas from Mom... I now have 250 business cards printed!

I wanted to share some pictures of my business card in  process.


Tools for designing my border

My border all ready for Microsoft Publisher
Mission accomplished!

 Through the whole process I was so blessed by my older brothers coming alongside me and helping me come up with these beautiful business cards!

And oh! I have some exciting news; well at least for me :-) I now own the domain name "sincerelysewn.com" !
So now you don't have to put "blogspot" after "sincerelysewn".  
It's so much fun making these kind of steps in my business :-)

 Well that's it for now!