Two weeks ago Nathan brought fresh raw honey home from work. He processed the honey at our house and set aside the wax and the cappings for me. I researched a little online on how to make beeswax and was daunted. Many people said that beeswax will ruin your pots, makes a mess of your kitchen and that wax is dangerous to melt because it is flammable. I delayed making the wax for two weeks and let the container of wax sit on the counter but then the honey in the wax started to ferment. So yesterday afternoon I decided I would make beeswax today.
First I needed to clean the wax so that I could get all the honey out before I melted it down. I put the wax in a square piece of muslin cloth and brought up the corners and made a sort of "pouch". I rinsed the wax by running warm water over the pouch and I also dunked it in a bucket of warm water. After the water running from the pouch was clear I put the wax on a cookie rack with muslin over the top of the rack and put the rack on top of a 9x13 pan to catch any water. After I cleaned all the wax I let it dry over night.
 |
| The wax drying |
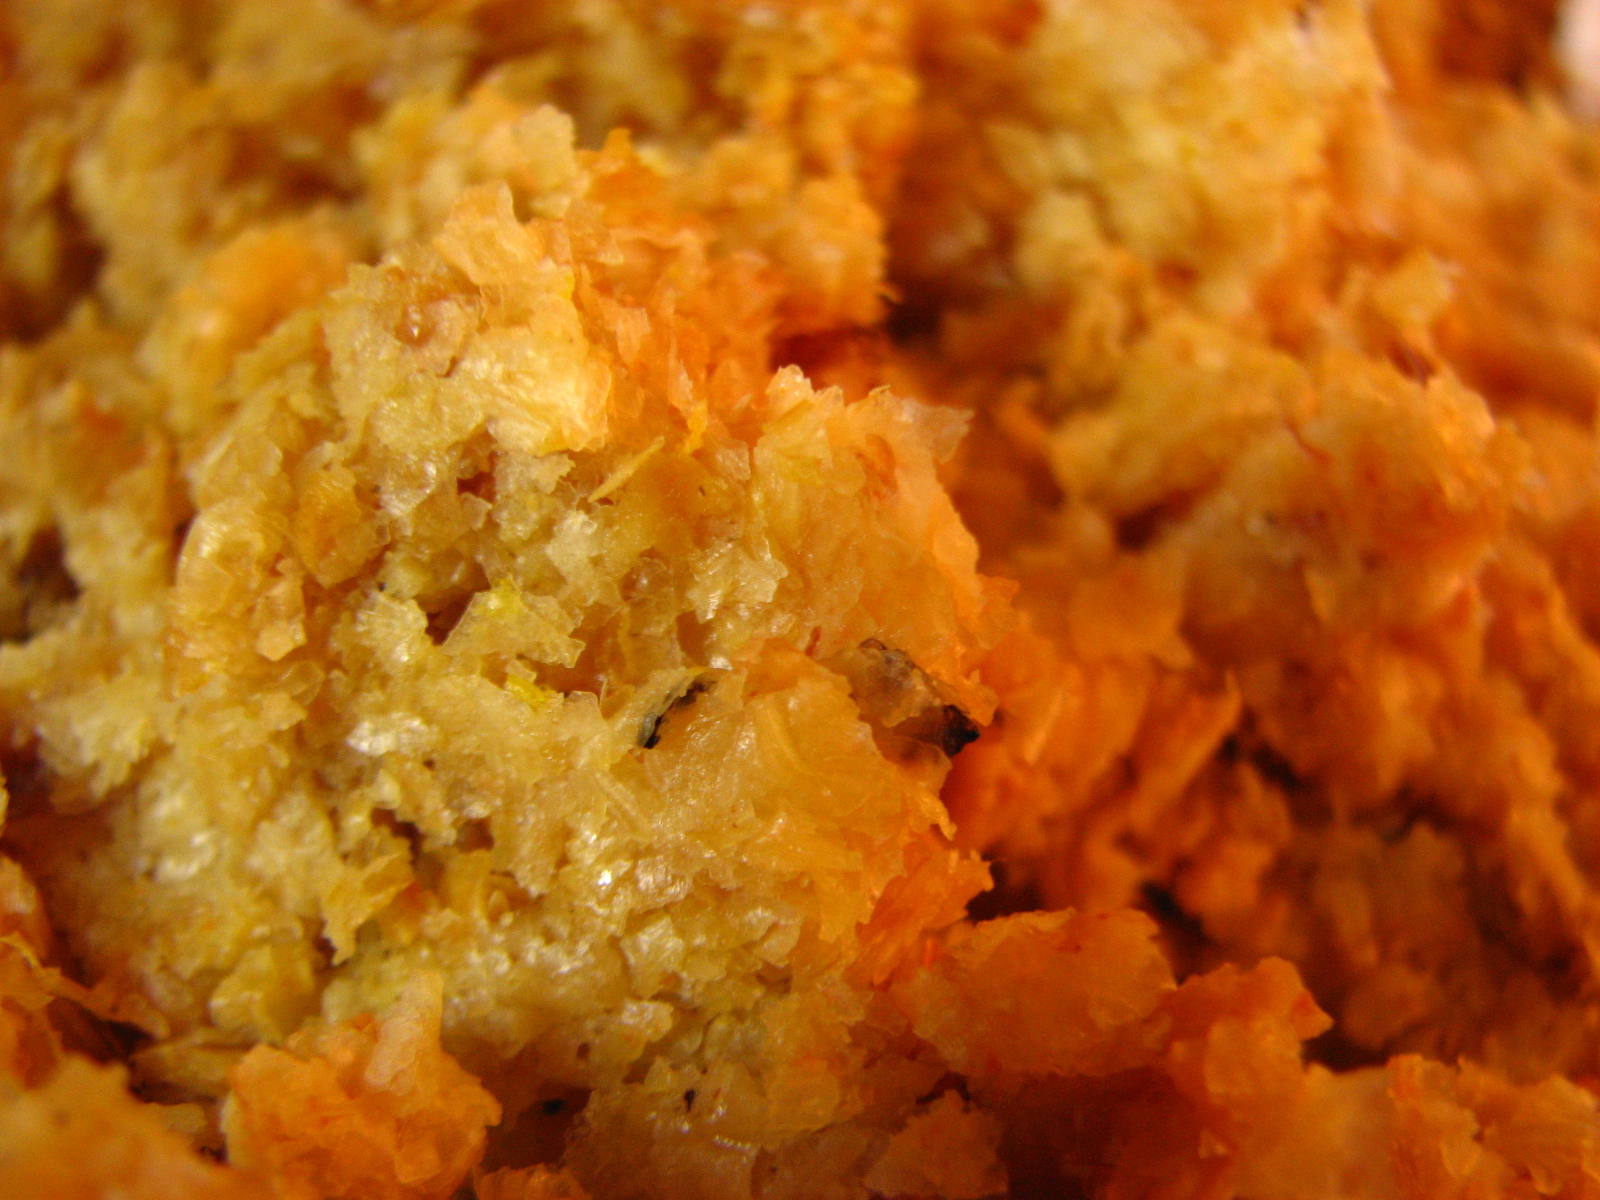 |
| Clean Wax |
Today I started making the beeswax by putting the cleaned wax in my double boiler. (I bought two aluminum pots yesterday just for making the beeswax.) I boiled the water and then put my pot with the wax in the larger pot. I made sure that the wax did not get too hot but that it was just hot enough so that it could melt.
 |
| Wax in double boiler |
Before I started melting the wax I prepared a couple of plastic containers for straining the impurities from the wax. You can use plastic yogurt containers or carton orange juice bottles. I found that the plastic yogurt containers worked better. Then I put a new knee high hose over the top of the container so that the wax would drain through the hose but the impurities would not get through the hose. I also put about an inch of water in the bottom of the containers so that the wax will form on top of the water.
 |
| Straining the wax |
 |
| Wax from the first container |
 |
| Wax from the second container. See the impurities in the wax? |


Cleaning the pots was difficult because the wax does not come off. They looked cleaner than I thought they would but I definitely know why you would not want to use these pots for cooking dinner with :-)
I used boiling water and I tried to buff the wax off but I did not spend too much time on them :-)


It was a lot of fun learning how to make beeswax and I hope to be able to do it again!
Blessings,
~Rachel
Very cool!
ReplyDeleteWhat are you planning to do with the beeswax?
"It's none of your beeswax!"
DeleteWell actually, I am planning on making lip balm and maybe hand salve and soap if I have enough beeswax :-)
At the beginning, the wax looks like turkey stuffing. :P
ReplyDeleteBut the finished product is really beautiful, a total transformation! Very nice work. :)